Setting up basic infrastructure for your gem
Categories:
Introduction
Here we will be going through the steps and best practices for setting up basic infrastructure for your gem. The steps given can be followed by anyone to setup the basic infrastructure for gem development which does the following.
- creates the basic file structure for the gem.
- adds the rubocop which validates the guidelines outlined in the community Ruby Style Guide.
- adds the travis or appveyor testing to the repo which validates the changes to the repo.
- adds the dependendabot to the repo which creates pull requests to keep dependencies up to date.
Note:
This walkthrough assumes you have the following software installed:
It also assumes familiarity with the Ruby gems.
Infrastructure for your gem
We’re going through the steps and best practices for setting up basic infrastructure for your gem.
For any repo created for developing a Gem we add owner, access and license to the repo. Follow the steps below to add them.
- Open a git hub page, perform the rest of these actions from there.
Click on + to create a new repo.

Provider the owner information, repo name and license.


Click on Create repository button.
Open the new repo created and navigate to settings tab to update the access.
Provide your team as admin on github. (This example shows Puppet’s modules team)

Follow the steps below for creating the gem structure, add the rubocop validation, add the travis or appveyor testing to the repo.
Open the command line and perform the rest of these actions from there.
- Clone the new repo created. Add the upstream project and checkout the branch.
git clone https://github.com/sheenaajay/puppet-modulebuilder.git git remote add puppetlabs https://github.com/puppetlabs/puppet-modulebuilder.git git checkout -b blogpost- Create a ruby gem with bundler and perform the commit.
bundle gem puppet-modulebuilder
git add -A
git commit -m "Initial commit of puppet-modulebuilder gem scaffolding"
See [Clarifying the Roles of the .gemspec and Gemfile](https://yehudakatz.com/2010/12/16/clarifying-the-roles-of-the-gemspec-and-gemfile/) on whether you want to commit the `Gemfile.lock` or not.- Remove unused default gem development scripts if any and perform the commit.
rm -r bin/console rm -r bin/setup git add -A git commit -m "Remove unused default gem development scripts"- Update gemspec with actual values for spec.authors, spec.email, spec.summary, spec.description, spec.homepage, spec.metadata.
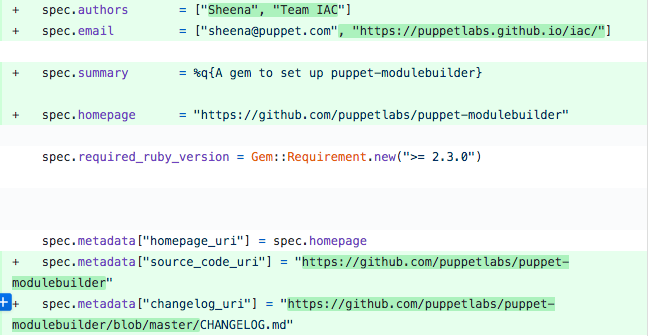
git add -A git commit -m "Update gemspec with actual values"- Copy puppet-style rubocop rules(Example from pdk repo), activate and apply default fixes.
bundle install --path .bundle/gems/ bundle exec rubocop git add -A git commit -m "Include, activate rubocop, apply default fixes"- Add instruction files for travis-ci and appveyor. Sample PR contains travis.yml and appveyor.yml.
git add -A git commit -m "Add instruction files for travis-ci and appveyor"- Add modules team to CODEOWNERS. Create the CODEOWNERS file in .github/CODEOWNERS
git add -A
git commit -m "Add modules team to CODEOWNERS"
Finally push your changes to the branch and create the PR “Basic infrastructure” Sample PR for reference
Follow the steps below for enabling CI jobs and dependabot for the repo.
Set up travs-ci.org for simple rubocop and spec testing. Open a travis-ci-org page. Click on Sync account.

Set up appveyor for simple rubocop and spec testing. Open a ci-appveyor page. Click on Add.

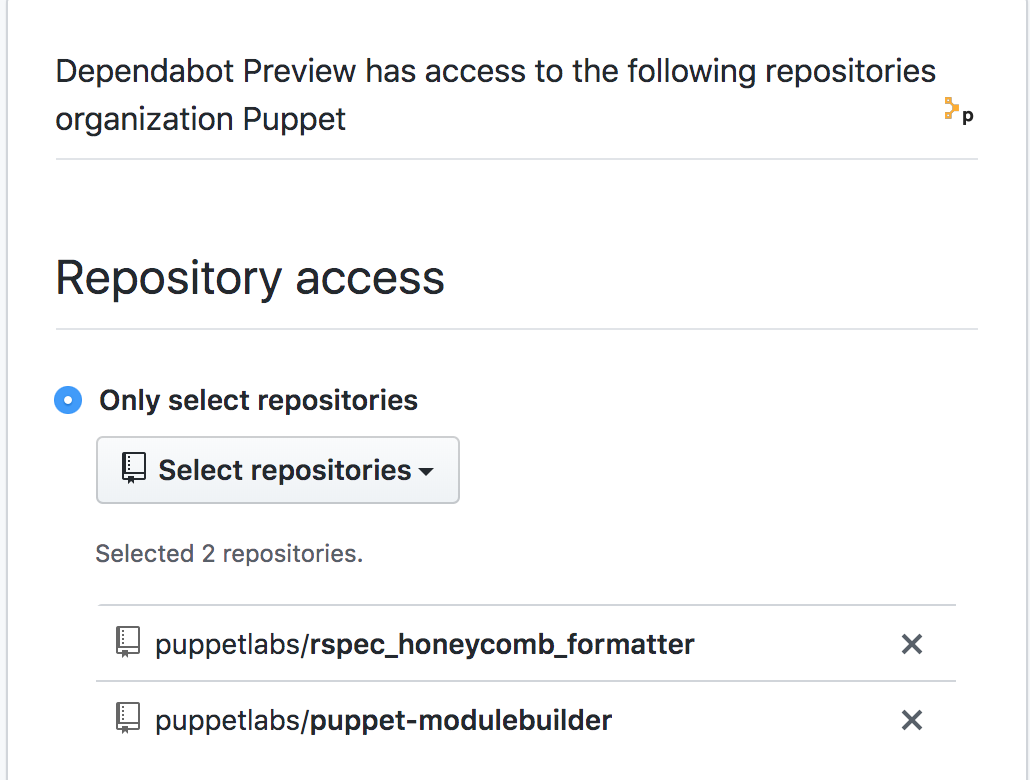
Allow dependabot access the new repo created. Open a dependabot page. Click on + , select the repo and provide access.

Enable dependabot for the repo.

Wrapping Up
Hooray! We’ve created the infrastructure for our gem !